
How to Make a Gilda
Florence DiffeyShare
The world's best mouthful of food is without a doubt the humble Gilda.
A salty, flavourful pintxo from San Sebastian in Spain.
When travelling in San Sebastian over a decade ago, Gilda's were only served in a handful of bars in the Old Town - and you'd only really have them at the original birthplace of the snack, Bar Casa Valles.
It's named after the titular character of the 1946 film starring Rita Hayworth who was slated as green (read: dirty), salty and a little bit spicy. Oo-er!
Nowdays, you can get a Gilda at a good wine bar anywhere in the world. The are so simple to achieve, but just with everything, it's the simplest things that are the hardest to nail.
So, what you will need for a Gilda are these things:
1. A skewer. Not too long, not too short. A good cocktail length one will do.
2. Good quality pitted Spanish olives, I use Bernal.
3. A slice of lemon.
4. Cantabrian Anchovies. That means Basque Red Anchovies. Do not use Boquerones or Sicilian White Anchovies. Do not use crappy fall-apart supermarket anchovies. They won't skewer properly. You need high quality ones like Olasagasti, Yurrita, Angelachu or El Capricho.
5. Guindilla Peppers. These are known locally as Piparras (green Guindilla peppers). We use MoVida's found here.
That is it. These ingredients can't be substituted, hence why not all Gilda's are created equally. For maximum authenticity, ideally source ingredients from as close to the Basque country as possible.
To assemble your Gilda, follow the steps below:
1. If you are using regular pitted olives, insert a teeny-weeny wedge of lemon the size of a pea into the olive. Skip this step if you are using Bernal lemon stuffed olives.
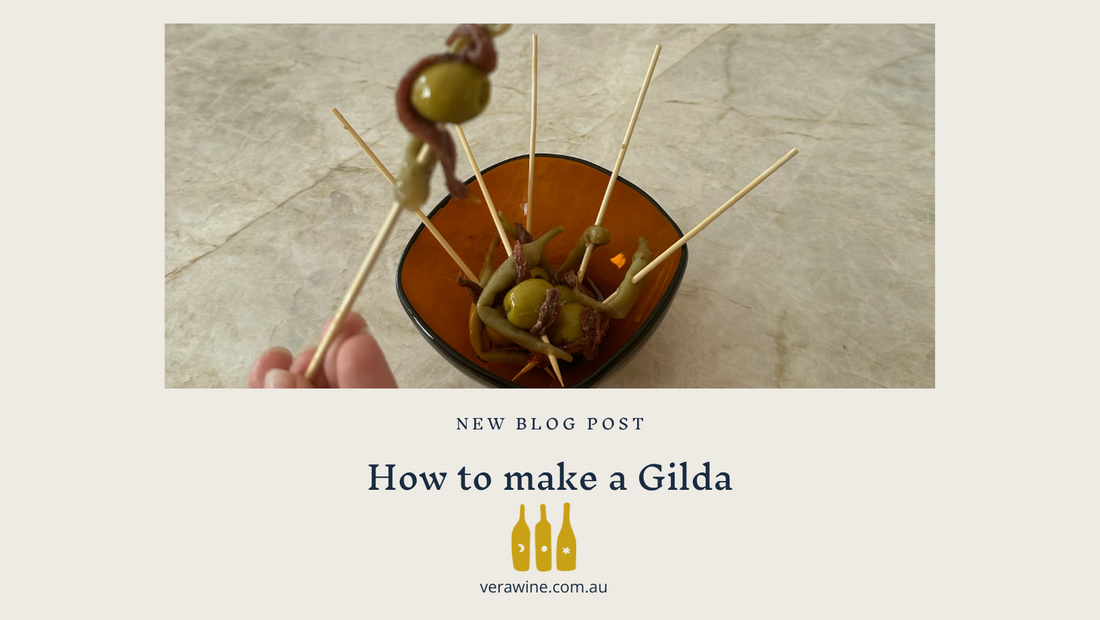
2. Thread one end of a Guindilla onto the skewer, followed by one end of an anchovy, and then your olive.
3. After your olive, attach the other end of your anchovy and Guindilla pepper. It should look something like the picture.
Repeat steps until all of your ingredients are gone, and gobble them up!
Click HERE to add the necessary ingredients to your cart!